MetaMask Wallet
MetaMask is one of the most popular wallets for Ethereum and ERC-20 tokens. It is relatively user-friendly, and makes it easy to move money between different accounts or integrate with decentralized applications and decentralized exchanges.
Other advantages are that it can be used together with a hardware wallet such as Ledger and Trezor. There is also a mobile app so you can perform your errands directly on your mobile. To finish things off, it is also possible to swap tokens.
Table of Contents
- Installation
- Create an account
- Send and receive Ethereum
- Manage tokens
- Swap tokens
- MetaMask on your phone
Installation
To start using MetaMask on your computer, you need to install an add-on for your browser. Supported browsers are Chrome, Firefox, Brave and Edge. You can download from this page.
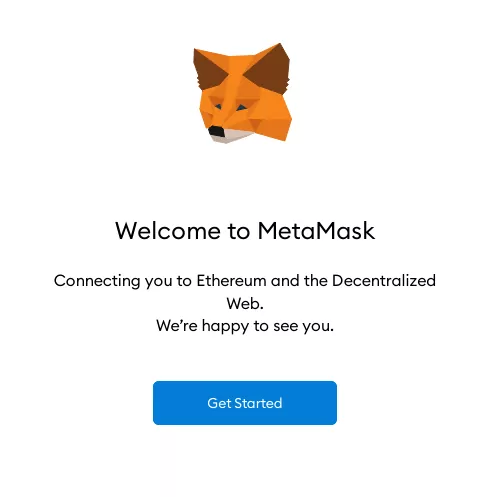
When the download is complete, you will be greeted by a welcome sign with a fox that will soon become very familiar to you. Click "Get Started".
Create a new account
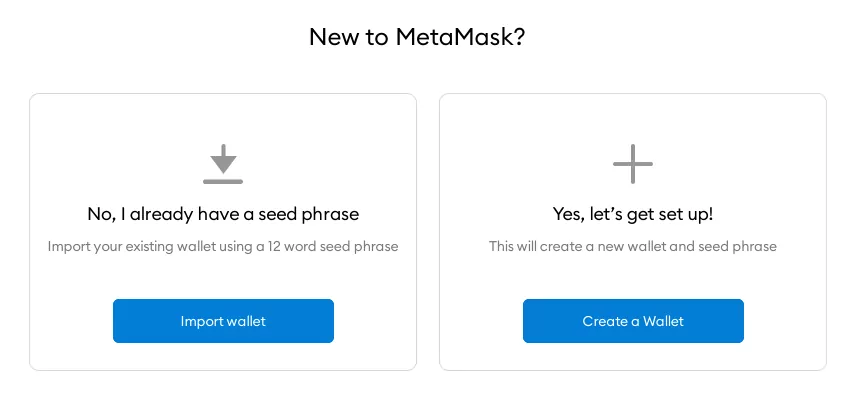
Now you'll get the following options - Import wallet or Create a Wallet. You should now select the latter option to create a new account with a new address.
The next screen asks if you want to allow anonymous data to be collected. The choice is up to you.
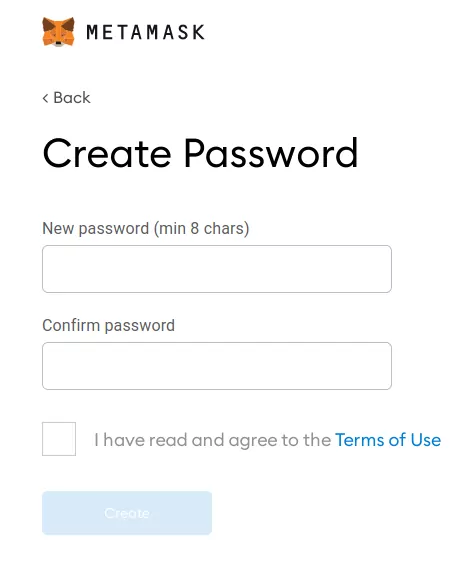
Next, set a new password for your account. You will often use this password when using your wallet. If you lose your password, you can always reset your account - more on that later. Accept the agreements and click "Create".
The next screen will ask you to back up your account. The phrase can later be used to restore your account on another computer or if for some reason the account disappears from the computer. The phrase can be put together by MetaMask to create your private key, and thus gain access to your account and your money again.
IMPORTANT: If you lose this phrase, you will not be able to restore your account, and any money in the account will be gone forever!
Write down the phrase. If you have a lot of money in the account, it is recommended to write it down on a piece of paper and keep it in a bank safe, for example. Saving it to a file on your computer is not an option if you are not just testing it out.
Select Next when done.
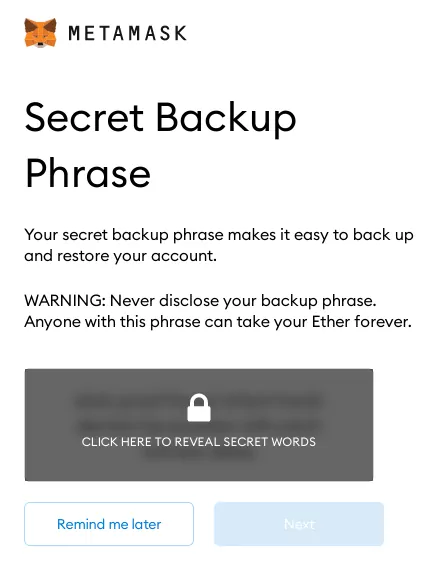
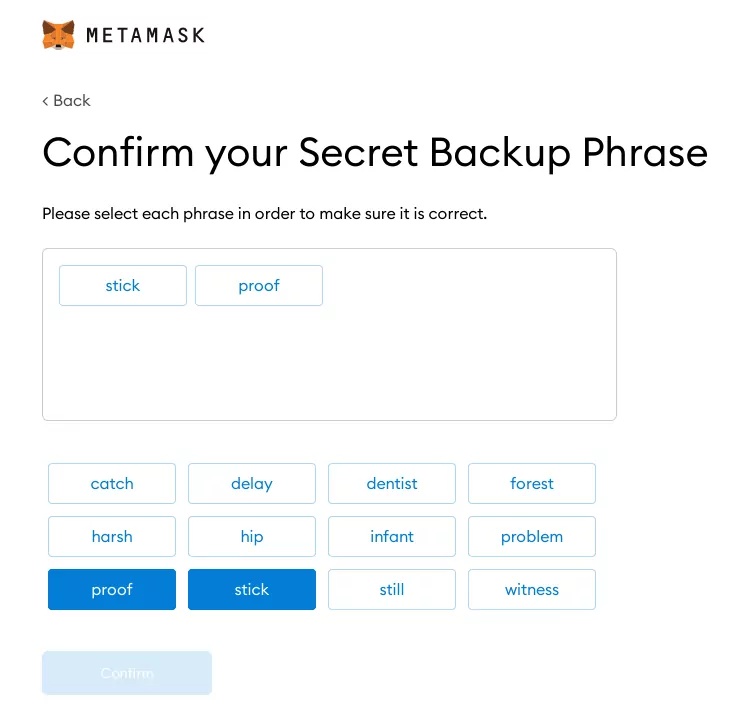
Now comes the boring part, where you have to prove that you saved your phrase from the previous step. This is because it is not uncommon for people to lose all their savings when they once thought "I will do it later ...".
So fill in your phrase, one word at a time, in correct order.
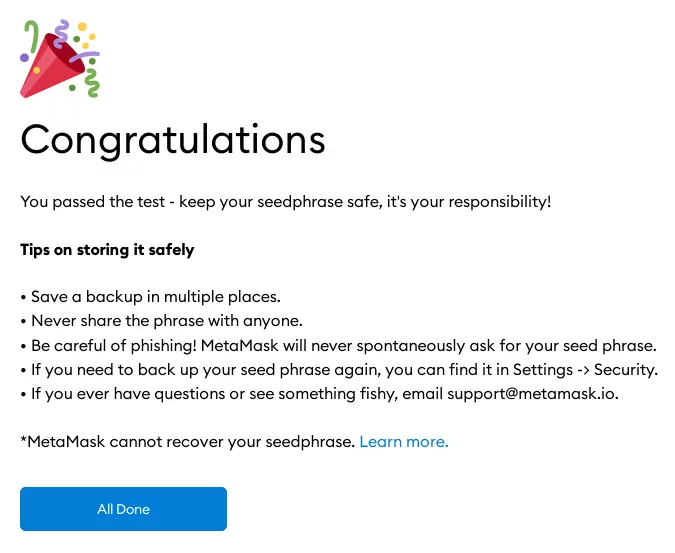 Hurray! Now you're done!
Send and receive Ethereum
MetaMask is available in two views, one that unfolds from the top of the toolbar at the top right, and a variant that appears in a tab in the browser. The first variant is easy to reach, but extremely annoying as it starts from scratch every time you open it. If you want to copy an address, for example, and have filled in the sum, it will be gone the next time you open it. Therefore, the expanded "tab view" is preferable. Open it by unfolding MetaMask from the toolbar, click on the three vertical dots at the top right, and select "Expanded view".
To the point...
Receive Ethereum
There is no special button to receive money, but you simply send your public address to the person who will send you money. The easiest way to get it is to click on it under "Account 1". An address starts with 0x ...
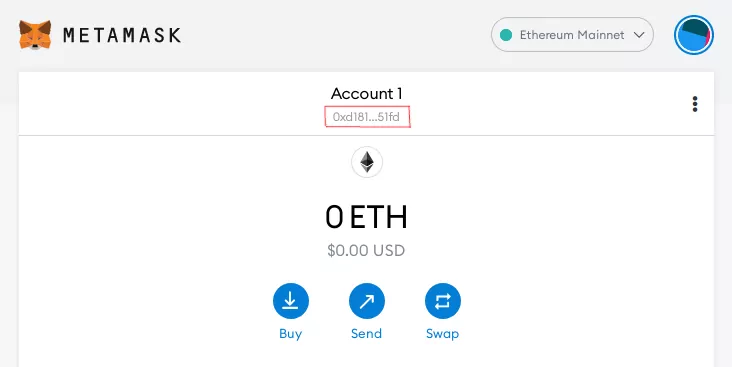
When the money has arrived, it will be visible on the number of ETH you have in your wallet, as well as below which shows recent transactions.
Send Ethereum
To send this link to your friends, yourself or an exchange click on the blue "Submit" button. Here you can enter the address (starting with 0x...) of the person you want to send to, or scan a QR code. If you have several accounts in MetaMask, you will be able to select them here as well. You will then be greeted by this screen:
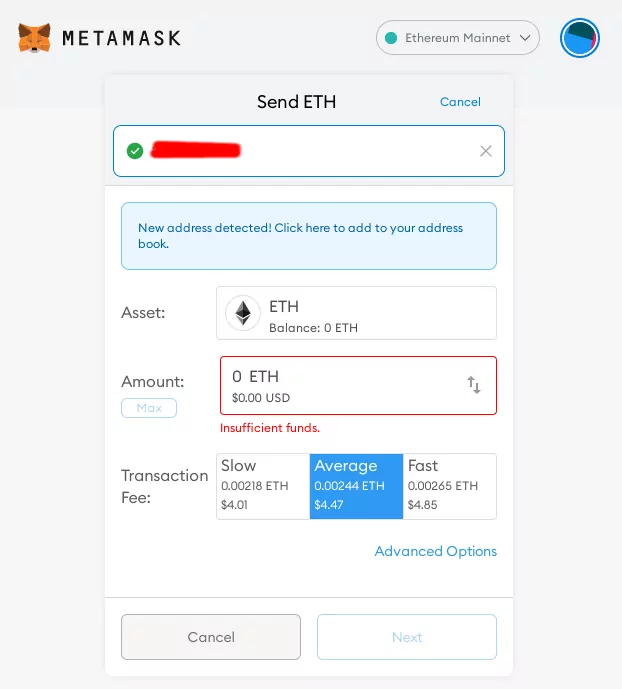 Click on the address at the top to copy it to the clipboard
You now have the opportunity to fill in how much ETH you want to send, and how much you want to pay in transaction fees. How much you should pay in transaction fees will vary depending on how busy the network is. "Average" is usually enough, and takes about a minute, but it can also take much longer. When there isn't much difference between Average and Fast, it is most effective to choose the fastest.
If you just send to another account, it may not matter so much how fast the transaction will be finished, but if you integrate with decentralized applications and decentralized exchanges then transaction cost wars sometimes occur. If your transaction does not go through fast enough, the conditions might have changed, and your transaction will be interrupted. A canceled transaction will not refund your transaction fee.
Then take "Next", and confirm. Then just wait until the decentralized network verifies your transaction.
Manage tokens
You can also manage your tokens (i.e. ERC-20, ERC-721) through MetaMask. As long as these are in the account that is linked to your MetaMask, they should appear on the home screen under the "Assets" tab. To receive assets, just like with ETH, just give them your address. See Receive Ethereum.
To send your assets to friends or an exchange to sell them, you can just click on them from the home screen. Then select "Send". Enter the address (Or use a QR code). Just like when you send Ethereum, you then choose the amount and your transaction fee. Note that the transaction fee is always paid with ETH regardless of which asset / token you are sending. It is therefore a good idea to always have some ETH left in the account for a couple of transactions.
If your token does not appear in the list on the home screen, they may need to be added. At the bottom of the home screen is the "Add token" button. You can search for it here. When it does not work either, you can add it manually through the "Custom Token" tab.
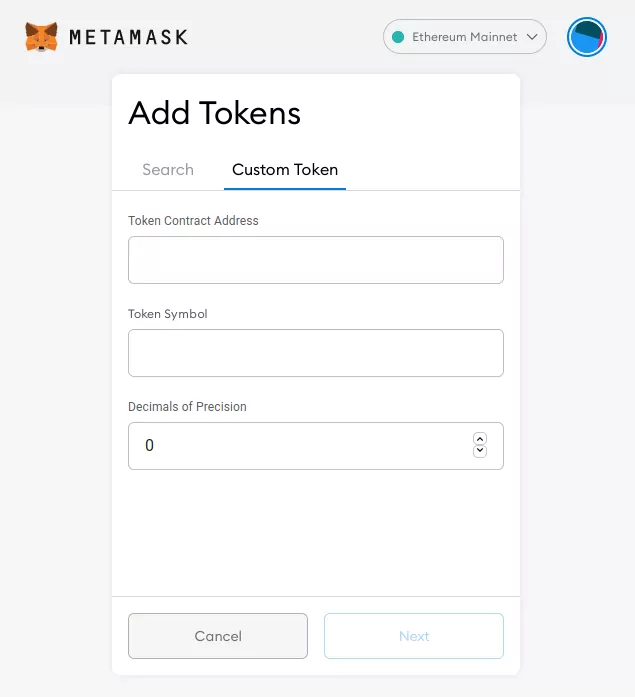 If you fill in the contract address, the other two fields are filled in automatically
Of these three fields, only the "Token Contract Address" you need to fill in. Each token has a contract address that is unique. Three methods to find this address:
- You have the contract address on the creators' website.
- You can find the token via EtherScan. You then go to the token in question and see "Contract" at the top right.
- If you find your token on CoinGecko you can copy the contract address next to the Copy icon.
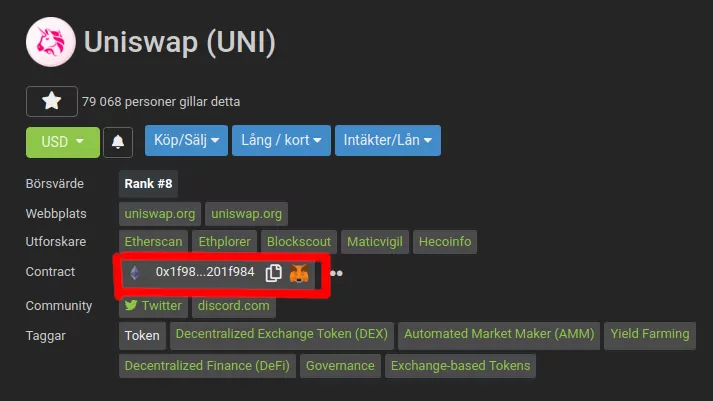 Here you can copy the contract address from CoinGecko
When you enter this address in MetaMask, it should fill in Symbol and Precision itself. Click Next and it will appear in the list, and you can send it just as usual.
Swap tokens
A new feature since 2021 is the ability to swap tokens directly in MetaMask. This is done through decentralized exchanges. You thus do not need to use services such as Uniswap if you do not want to.
The easiest way is to click on the blue "Swap" button. Here you can choose whether you want to change from ETH or a special token, and what you want back. Here we have an example where I want to exchange 0.01 ETH that at the time corresponded to $18.32 - and I want REN for these.
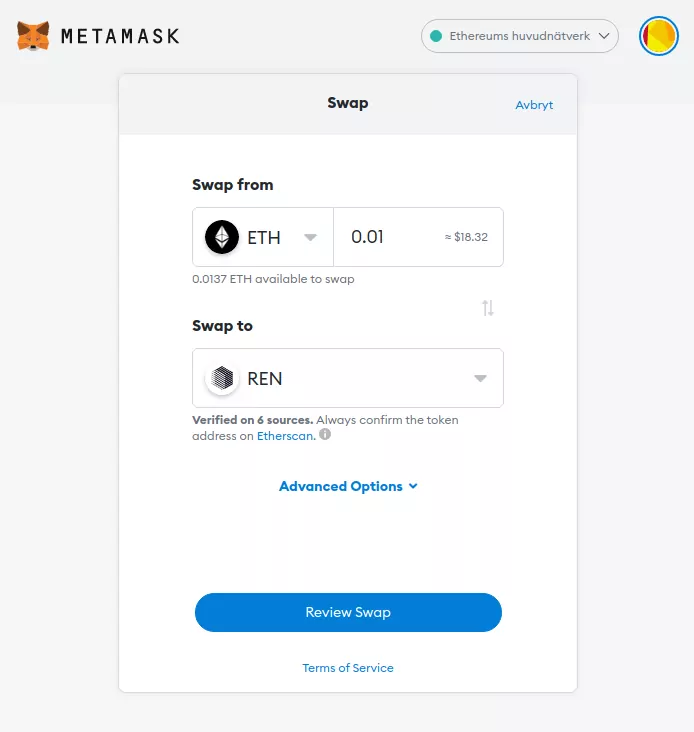
Then click on "Review Swap". It will take a few seconds as it checks the best possible price and route. You will see approximately what the transaction fee will be, and you can also select the transaction fee manually through the small link "Edit". As we mentioned before, it is often a good idea to choose the fastest possible transactions when swapping on decentralized marketplaces, as slow transactions often fail, and you miss out on the transaction fee. When everything looks right, click on "Swap".
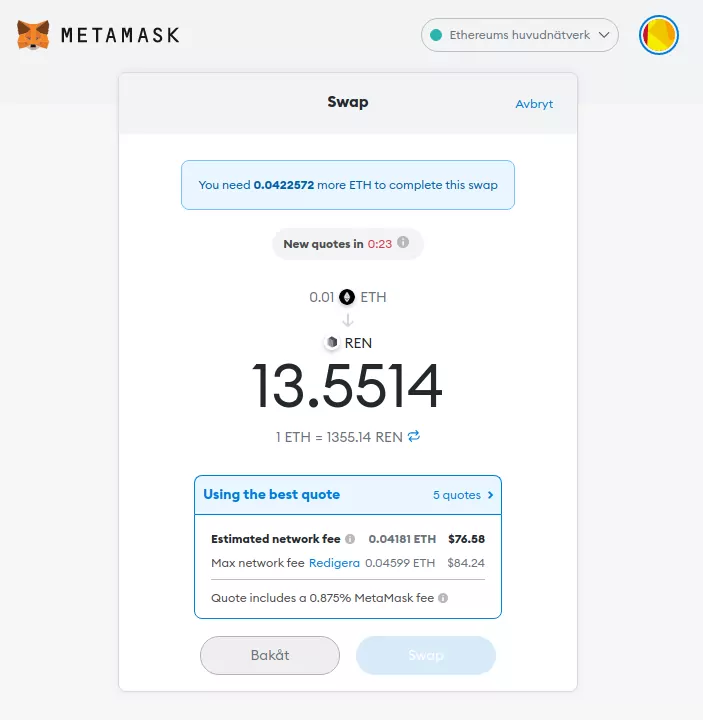 Hurray! 13.55 REN for my meager 0.01 ETH
The disadvantages of this? MetaMask also charges a small fee of less than 1%. They also charge a fee at the decentralized marketplace. But these fees are vanishingly small compared to the transaction fee you pay for the Ethereum network.
MetaMask on your phone
You can download MetaMask to iOS or Android, where you can do everything you can with the computer. You will verify yourself with a fingerprint instead of a password when using the app.
To open your accounts in the mobile app, open MetaMask on your computer. Click on the Ball that indicates your account at the top right. Select "Settings", then "Advanced". There you will see a button that says "Sync with mobile". Click on it. Enter your MetaMask password on the computer. You will now receive a QR code.
Now open the app on your phone. If you do not have any accounts, you will receive an installation guide. If you choose to import an account, you can scan the QR code on the computer. If you do not get a wizard for whatever reason, you can manually import your accounts by clicking on the Main Menu, then Account at the top. At the bottom you will find here "Import an account".
Here you can select Scan a QR Code. Viola!